
Halloween is quickly becoming one of my favorite holidays. The last couple of years, we have thrown a party either on, or around October 31st & I've loved it. We get to see all the kiddos in their costumes, hang out with loved ones, put up creepy decor & make tasty treats!
This year, we created a cookie decorating station to satisfy everyone's sweet tooth. For the cookies, I used a revised version of the sugar cookies my Mom always made. These sugar cookies were one of my Mom's trademarks & were mandatory at every family Christmas, celebration & any other gathering we could get her to make them for.
My Mom never cared very much about the decorating part, but it's something I always look forward to. Which is why I thought a DIY, Decorate Your Own, cookie station sounded like a great time! And it saved me from having to frost two huge batches of cookies, haha!
I made up a big bowl of frosting & mixed it up into a few Halloween colors, picked out a some holiday candies & let everyone make their own treat.


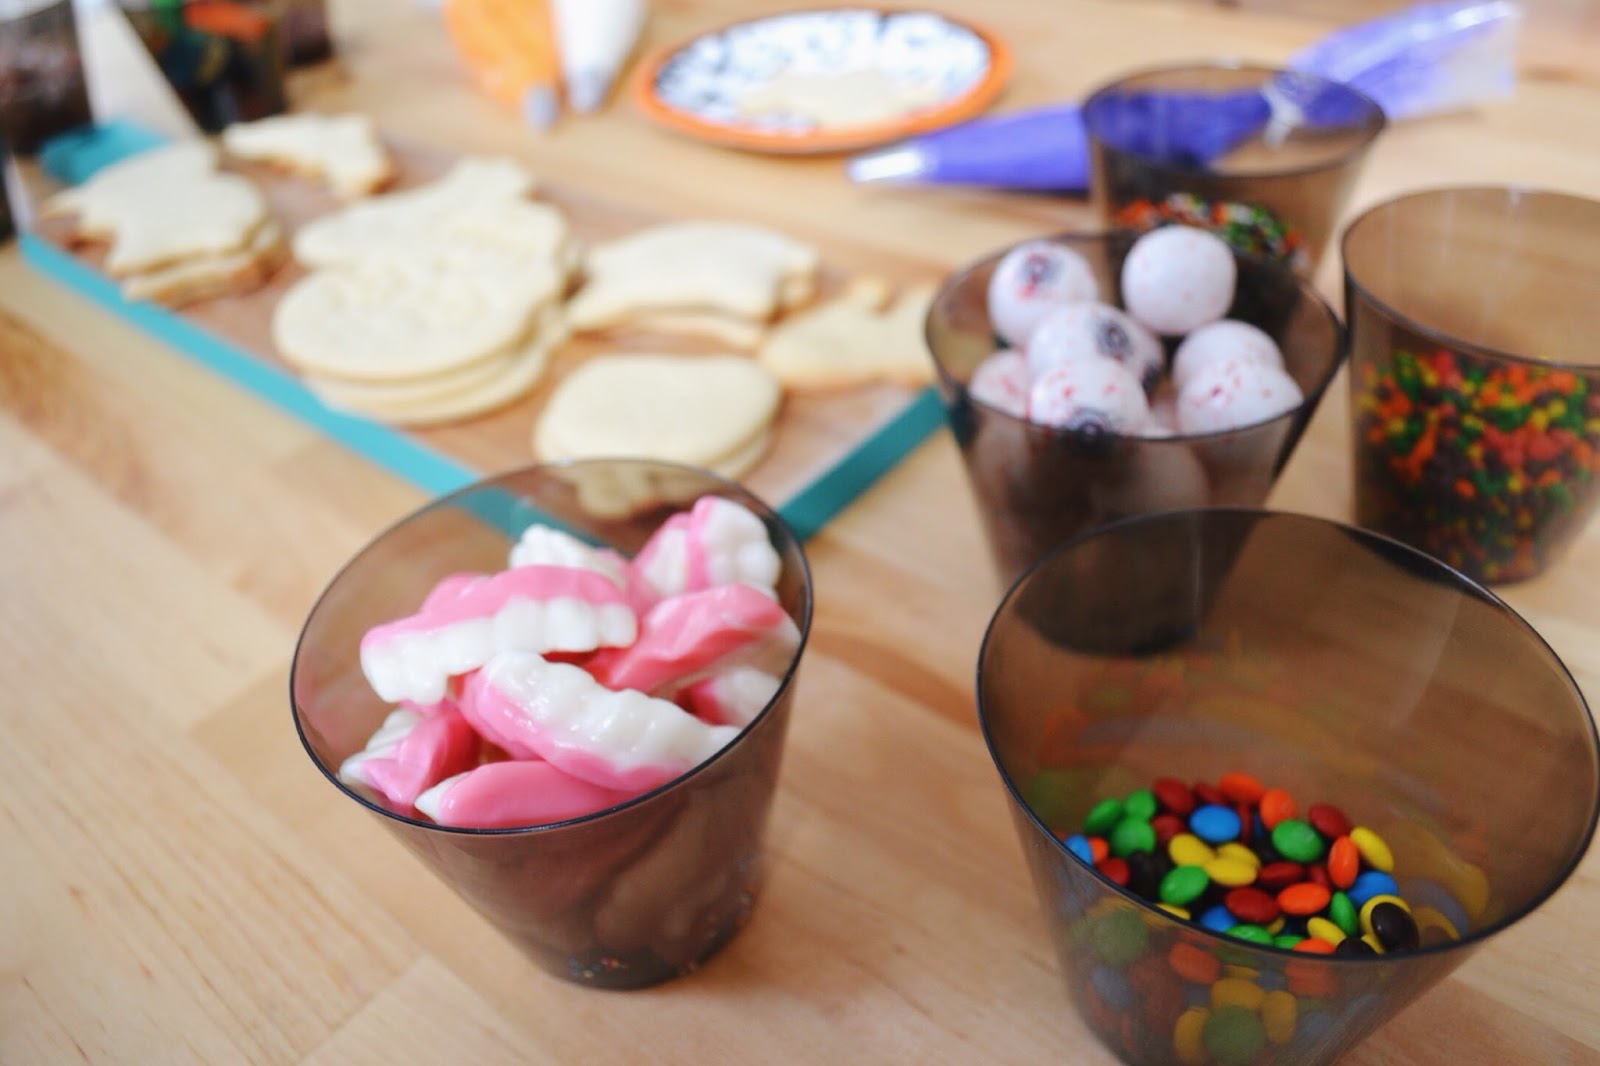
Let's talk candy for a minute. I knew that the toppings selection would be very important for these sweet treats. Because: extra excuses to eat CANDY! I wanted a few creepy choices, some fun ones & a mix of flavors. I started with gummy body parts, bloody bones, sour spiders & gummy teeth. All of these goodies where found in the bulk bins at Central Market.
I also grabbed eyeball gum (Target), Halloween sprinkles (two kinds), a sparkly mix of colored sugars, & a few fruity, cinnamon & chocolate choices from the grocery store selection of movie theater candy. Throw each type in a cup or container & you're ready!

For the icing, I decided to use buttercream. It's one of my favorites because it's thick, creamy & easy to spread, but doesn't run off the sides. It's a good choice for kiddos. And it's tasty! My go-to buttercream recipe is the Wilton version, which you can find here.

Soft Sugar Cookies
Adapted from Valeria Hoelscher's recipe in
St. Theresa Altar Society Cookbook, 2008, St. Lawrence, Texas
1/2 cup Shortening
1 cup Granulated Sugar
1 teaspoon Salt
2 teaspoon Baking Powder
1 Egg
1 teaspoon Clear Mexican Vanilla
1/4 cup Cream
2 - 2 1/2 cups All-Purpose Flour
Preheat oven to 375 degrees.
Cream shortening in stand mixer or using electric beaters. Add sugar in stages and mix well. Add salt, backin powder, egg, vanilla and cream, mixing completely. Sift flour. Slowly, and in stages, add in the entire sifted flour mixture. Note: It will take between 2 and 2 1/2 cups of flour. Check texture after you add each bit of flour, you want the dough to be 'dry' enough to roll out, but you do not want it to crumble. If dough is too 'wet' and won't roll out, add flour a tablespoon or two at a time, until it reaches the desired consistency.
Turn dough out onto a well-floured surface. Roll dough out to 1/8 inch thickness and use your favorite cookie cutter(s) to cut out cookies. Put on greased or parchment lined cookie sheet and bake for 5-8 minutes, switching racks half-way through cooking time. Remove from oven and let cookies cool completely on a rack. Frost cookies with desired icing.
The yield of these cookies is hard to determine, since it all really depends on what size cookie cutter you use, but you can usually count on about 2 dozen per batch if you're using medium sized cutters.
There are a variety of icing styles you can use for sugar cookies, and you can find recipes just by hopping on pinterest or googling the type you're looking for. My sister loves the thin, powdered sugar/milk icing, while my favorite is a nice thick buttercream (used for these Halloween cookies). If you're looking to make intricate designs, royal icing is a good choice, but keep in mind that they can take quiet a while (typically 6-8 hours) to completely dry & harden.
A few creations from the party:


